
Then starts with the basic colours -

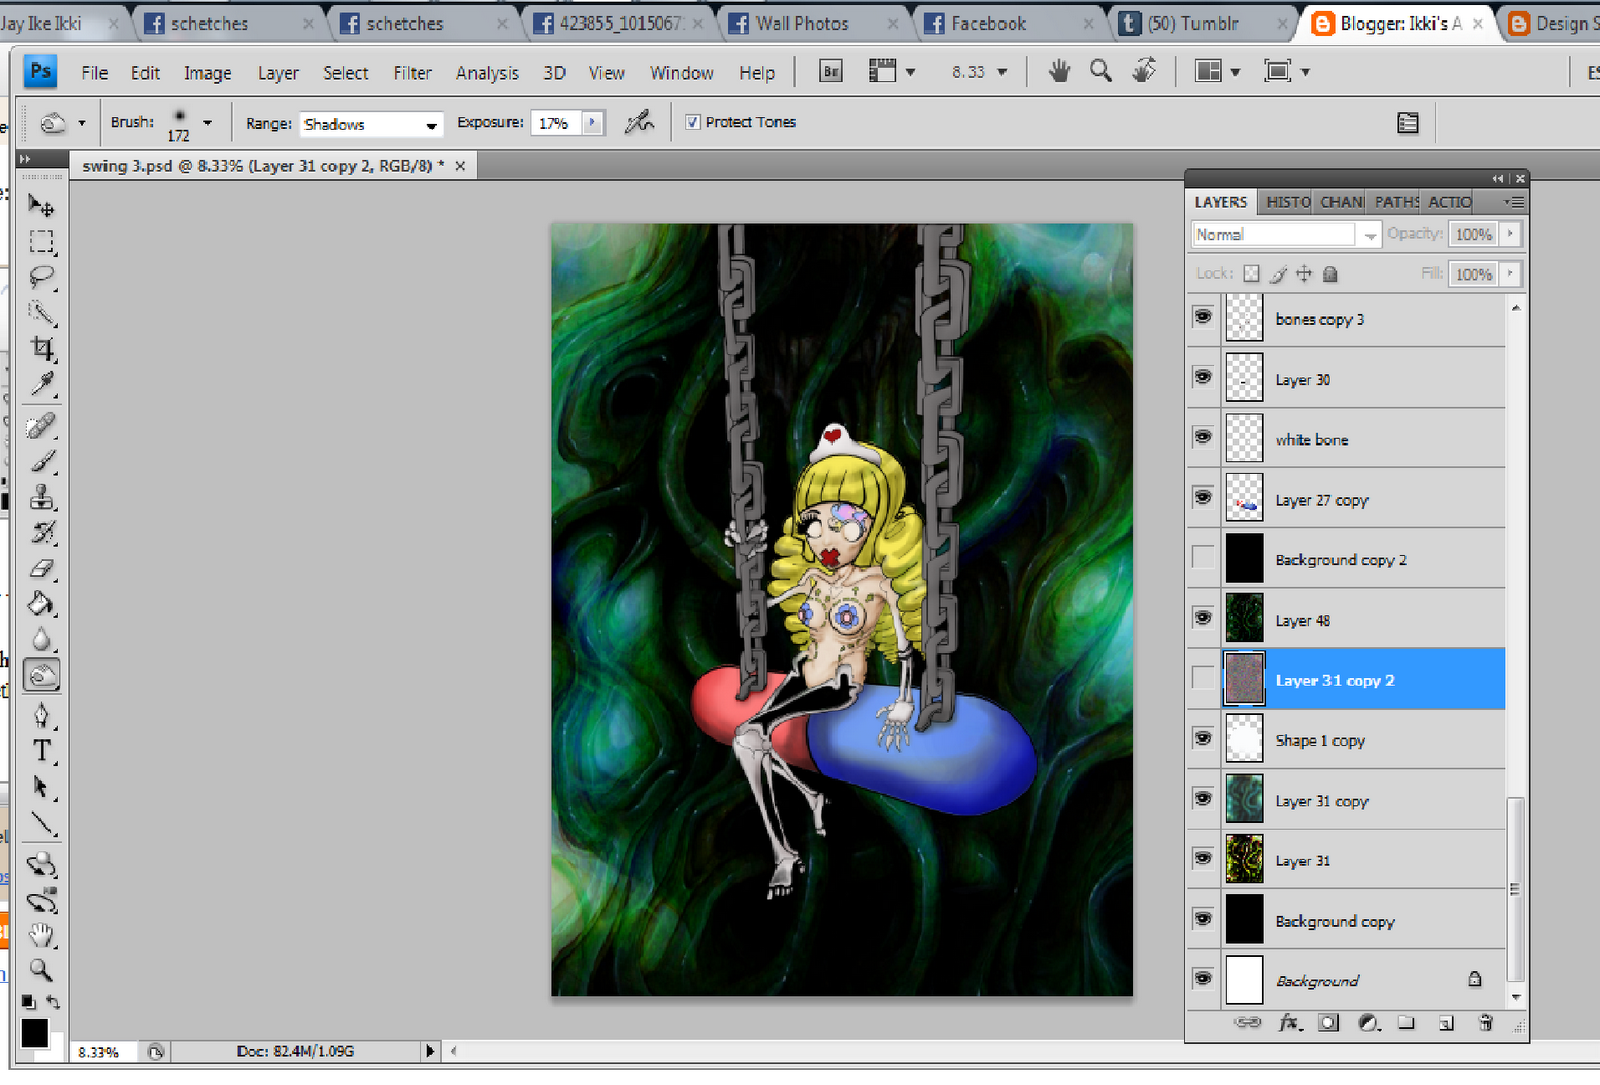
Onwards with shadings! This time using the burn tool -mainly with shadow and midtones

starts with the skin first because it's the easiest. Note: hiding all other colours to make things easier to see the shading.


a little on close up on how the skin's shading is done.


the picture sequence above, the technique is the same used for the monster's lips shading but this time with more experiments with blending technique and levels.

now with BACKGROUNDS!
for the background technique, it's the same with the first artwork, randomly picking a picture, and did mutliple copies with different blending options.
in this case.
black paint full (opacity 62, fill 41)
Overlay
Normal (opacity 76)
Differences (opacity 76)
black paint full (opacity 65, fill 39)
Making bubble! tutorial can be found here. http://www.youtube.com/watch?v=S12lhjGjv38


Filter > noise. This is to create the effect of a dissolving bubble.
Butterfly brush effects are taken from the internet.
Lastly, add noise to the background to create a less glossy surface to blend in well with the original image.
and canvas texture effect from Filter gallery Filter > Filter Gallery > Texture > canvas

No comments:
Post a Comment